Planning this adventure through the course of a year has given us time to ponder some traditional concepts – and through trial and error, come up with new possibilities to make our expedition cheaper and easier. We thought it would be a good idea to share these with the ski community in the hope it makes someone else’s trip planning a bit easier…
Gone are the days when you need to spend loads of money buying and tracking down expensive maps (especially the frustrating ones ones that only have a little corner of your route on them). Custom made and free maps are better! Create your route on google earth complete with food drop locations, crux avalanche and crevasse areas and cabin locations. Then go to www.caltopo.com and import your google earth file over whatever topo or satellite map you prefer at whatever scale you choose (we chose 1:100000). Select the your area, hit print, and get all your maps to your exact specifications.

We plan to use maps as an aid to our smartphones running the Gaia gps app (we’re bringing two phones so we have a backup) This app works without reception as long as all maps are downloaded ahead of time and allows you to track, find waypoints and basically do anything that a more expensive dedicated gps would do at a fraction of the price. If you’re doing a short trip a good lightweight battery bank should suffice for recharges (do this in your sleeping bag at night as they tend not to work when frozen) or for longer trips get a solar charger – varieties of both can easily be bought at MEC.

One of the biggest logistical nightmares is planning and paying for food drops. There’s no way around this. We simply can’t carry 3+ weeks’ worth of food and supplies in one go and expect to make any significant progress with packs that heavy. Ideally, our drops should be every 4-8 days (keep in mind we’re also carrying extra food for those inevitable storm and whiteout days when we’ll be stuck) But helicopters and ski planes are SUPER expensive I hear you say! I agree, here’s our solution:
1) Find a pilot who owns or can rent a small Cessna plane (it’s cheapest if you find someone with a private pilot licence that’s just looking for an excuse to get out and fly and will do it for basically the cost of plane rental and fuel). Make sure this pilot is also capable and experienced with technical flying in high mountains!

2) Plan your food boxes to be slightly smaller than the shape and size of the airplane window with some sort of animal barrier involved (we used some lightweight wire mesh that we hope is rodent and raven proof yet still easy to carry out.) If you’re worried about something bigger like a bear or wolverine you will need to use a bear barrel. Your stove fuel should go into a clean plastic pop bottle as they can withstand a lot of pressure and jarring – we tested this by throwing a few filled with water out of an airplane from 200 feet up and they survived.
3) You will get a GPS coordinate from your pilot after the drop but it’s likely your cache will be buried by the time you reach it. The solution is to contact the friendly people at Resqski and order some modified beacons and a receiver. You will need a beacon in each food drop in the very likely case that your cache will be buried under the snow by the time you reach it. The beacons have a range of about 30m which is cut down to about half that if buried under 1m of dense snow. You can pair 4 beacons to 1 receiver. The cost should be approximately $120 for 2 beacons and a receiver (they are re-usable and batteries last approx. 3 months if left on) Practicing with it feels similar to using an old analog avalanche transceiver.

4) Look over your route with your pilot on google earth and find a place that’s easy to do the drop – big flat glaciers, high open passes and frozen lakes tend to work best as they afford good escape routes and allow the plane to fly low. If possible you might even be able to fly with the pilot to do the drop and see where your box lands – as a bonus you also get to scope out your route! As a backup plan, if you get held up by storms and run out of food, or a bear reaches your cache before you do, it’s a good idea to have a standby box of food that your pilot can drop on you the next clear fly day as well.

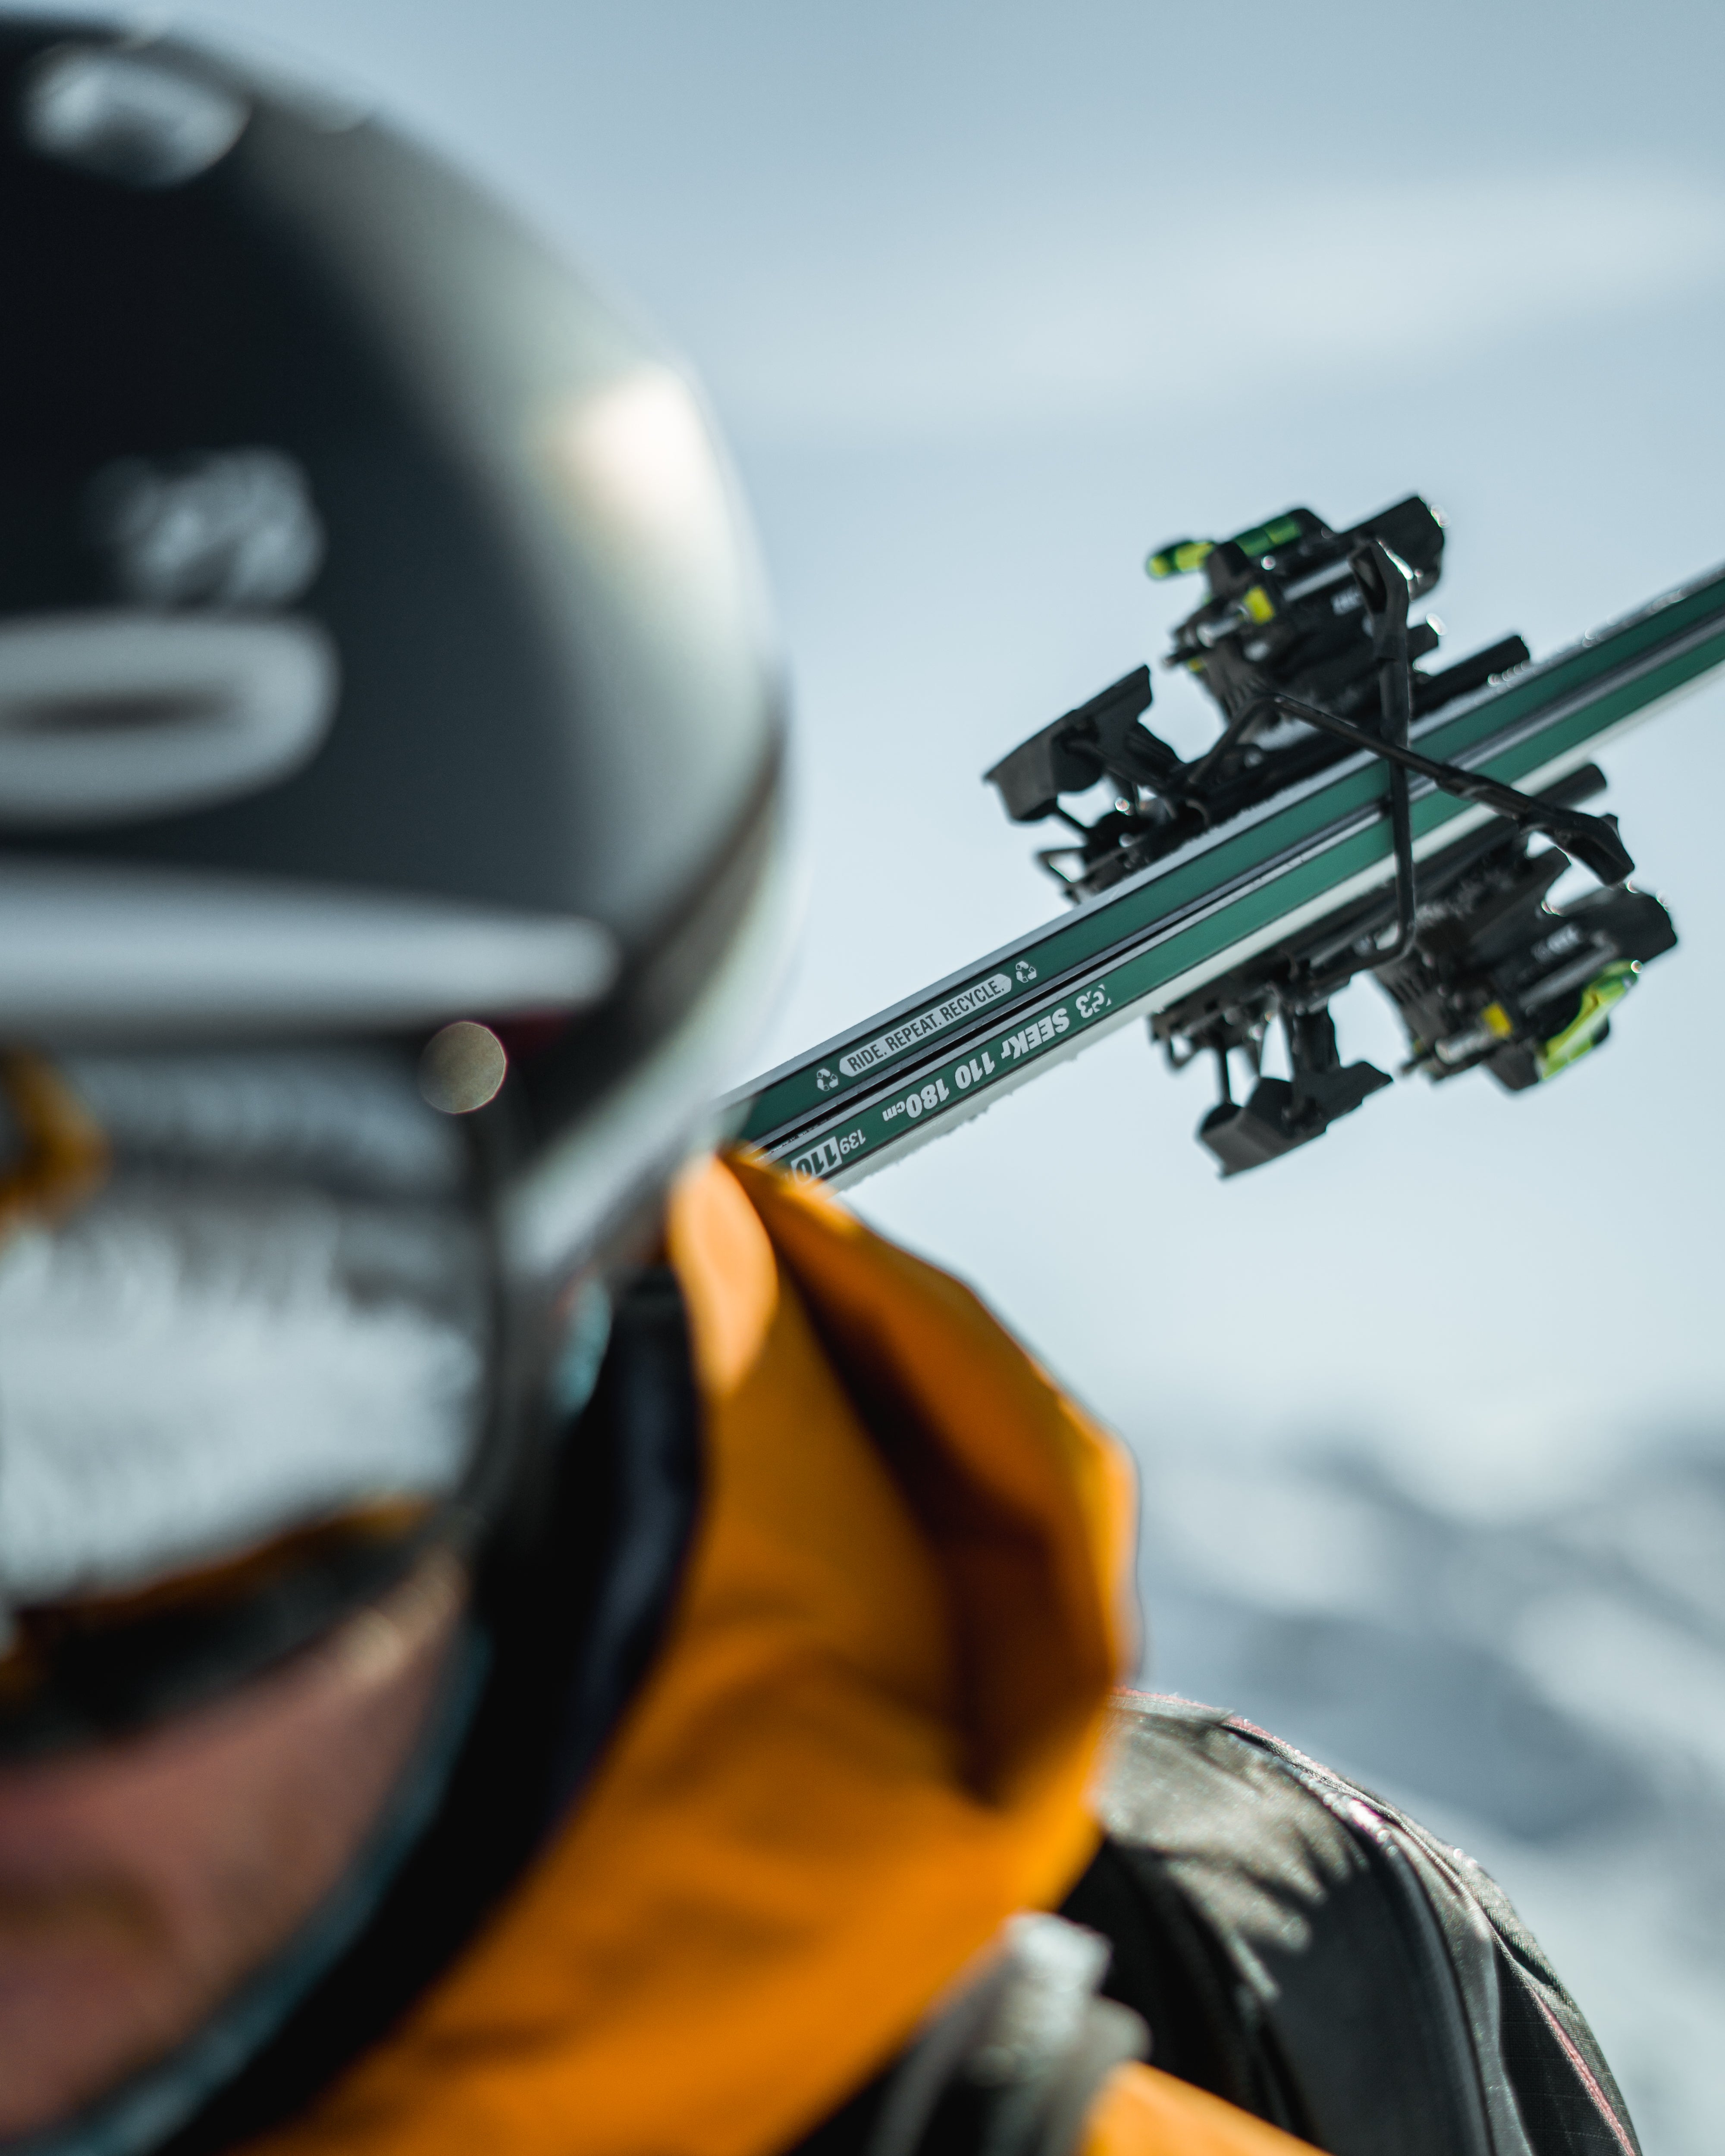
5) Voila! Ten food drops for the price of one traditional one! Instead of paying $2000 per hour for a heli flight you’re paying between $150-$200 per hour. Now you can afford to splurge on a brand new lightweight touring set-up with all that money you saved! (The ultralight G3 Synapse and Alpinist skins are a pretty winning combo we think…)

As with anything new there are risks and trial and error. What if it snows 3+ meters in the three or four weeks it takes to reach the cache and the beacon doesn’t emit a strong enough signal to pick up? What if the weather is terrible for weeks on end and our pilot can’t fly the next set of food drops out? What if a wolverine or Sasquatch eats all our food? What if, what if…? The list goes on. It’s a big scary trip no matter how we look at it. We can add those what ifs to the list of other scary uncertainties like avalanche hazard, crevasses, winter storms, and how bad the tent will smell after a big meal of dehydrated beans. We promise to be the guinea pigs for 6 months and let you know how it all turns out!

ALL PHOTOS BY RAVEN EYE PHOTOGRAPHY


